| Home | Telescopes | Astro Photos | Crystal Radio | WIFI Antennas | Crystal Coil Calculator | Contact |
|
|
 My first Dobsonian
Telescope
My first Dobsonian
Telescope This page chronicles my first 6” telescope. I am an amateur and all techniques shown here have been inspired in some way by other Amateur Telescope Making web sites. Spider I used 1” square aluminum stock for the spider. I cut it using a carbide tip compound miter saw. 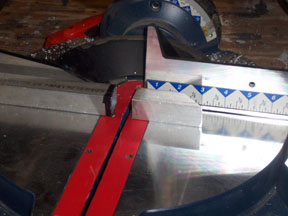 The lenth of the spider is about 4 " with a 45 deg cut it made the short end about 3" long  I used 6-32 threaded rod held in with matching nuts. 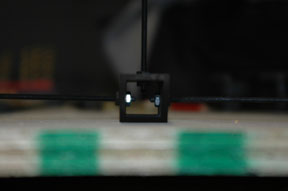 I did not put a vein on the angled side for fear it would get in the way of the eyepiece. 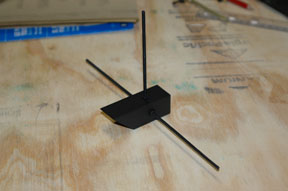 Mirror Cell and Tail Gate I started with � in. plywood. I cut 2 perfect circles, 1 X six inches to match my mirror and 1 X 8 inches to fit into the inner diameter of the tube. The pattern serves two purposes. 1. It looks cool and 2. It allows air to flow through the tube better, to cool the mirror. 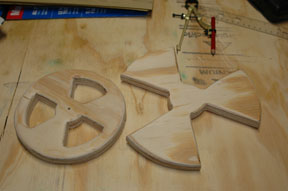 Notice here I drilled 3 holes. They were just larger than the thread size of my allen head machine screw and counter sunk so they would sit flush on the back side 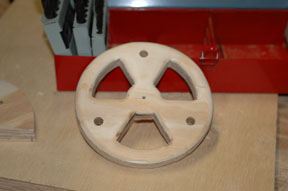 I then laid the 6 in. piece on top of the 8 in. piece and marked identical holes. I drilled them even larger to ensure that the bolts would slide in and out smoothly.  Here is the assembled mirror cell and tail gate. I inserted springs bought at Home Depot between the two.  Here is a side view.  Here you can see where I counter sunk the machine screws and used epoxy. The mirror will be fastened to this piece using 100% silicon.  The Mount Here is the base to the mount. I used 2 x 3/4 inch pieces of plywood glued and screwed together at 12-1/2 in by 13-1/2 inches long. I then used a 1/2 inch round bit on my router to smooth the corners.  The Mirrors Here is the 6" mirror 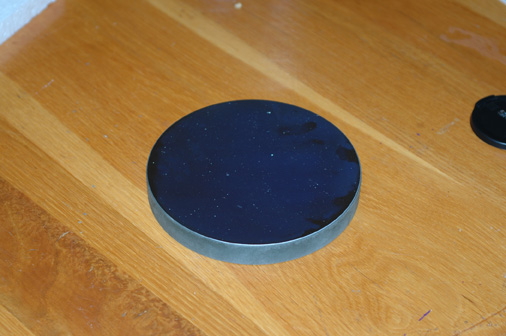 Here is the secondary (diagonal) I used 2 pieces of suede between the glass and the spider. 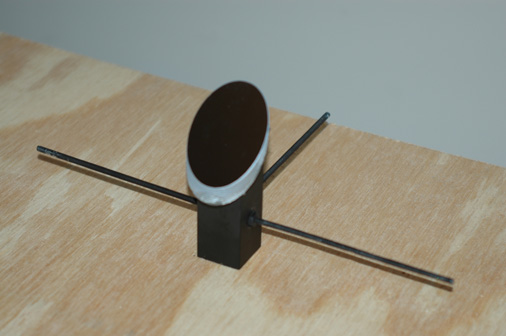 Focal Length OK, though the tech. rep. on the phone assured me that my 6" f8 would be within 10ths of an inch to 48", this is what I found out. Here are two shots of the flashlight trick. I set the mirror up on one end of the hall and doubled the length of the supposed focal length which was 96". I then moved the flashlight back and forth until the image of the filament was clear. 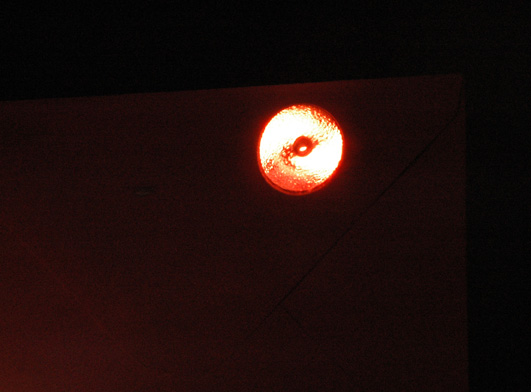 I double checked with two flashlights and doubled checked my math. The true focal length was 93"!!! half that and you have 46 1/2" NOT 48" That means ALL my calculations have to be redone. I should of waited until the mirrors got in before I did all my math.  The Tube The tube is a standard 8" sono-tube. I found some nylon type mesh that is used to wrap the bottom of trees for insects and thought it would look good wrapped around it. It's OK I guess. 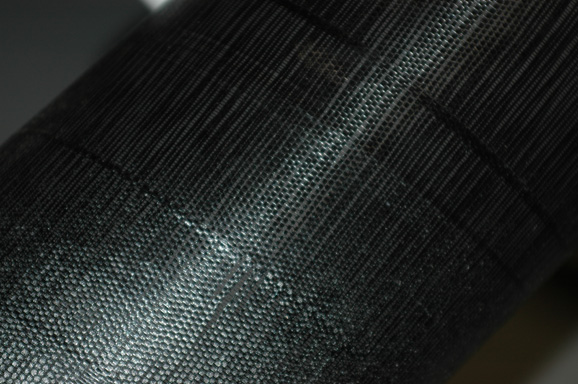 The Base The base is kind of my own creation. I did not follow any pattern, just drew it out on the plywood and cut it. 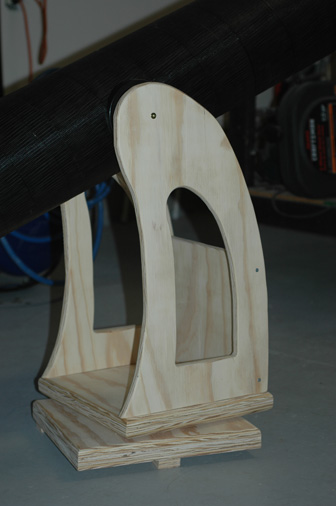 These are $ 11.00 tube bearings but I chose to use the threaded center hole to balance and rotate it as seen in picture above. 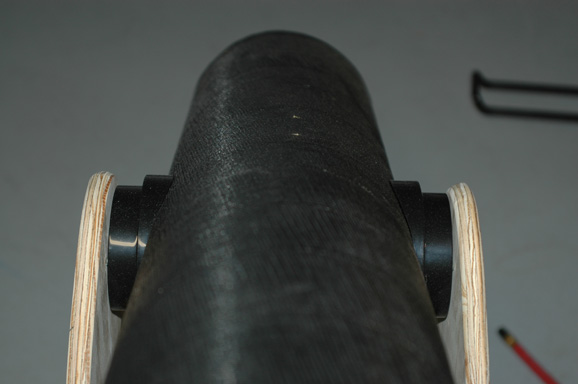 Finished Telescope 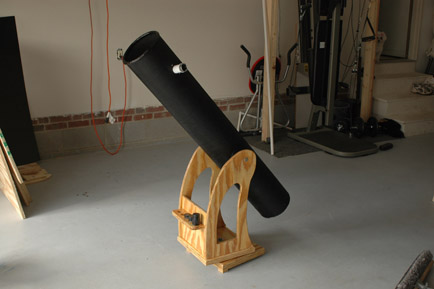 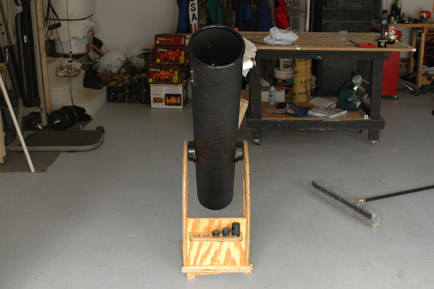 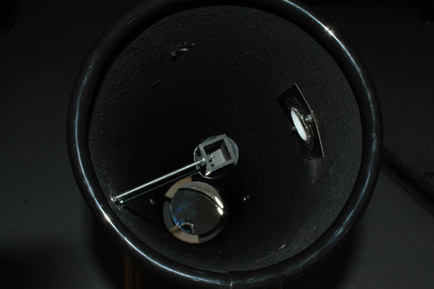 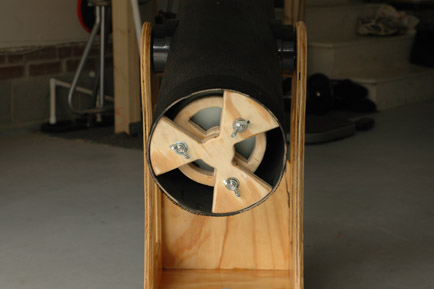 |